Shelf Life: A One-Metre Display That Survives a Rental
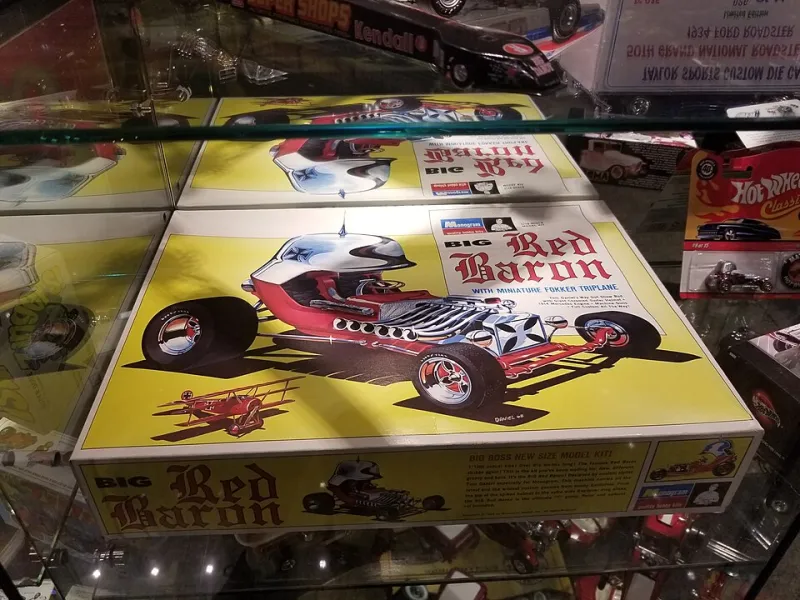
Photo: Hellbus, CC BY-SA 4.0, via Wikimedia Commons
There is a particular moment in every hobbyist's life when the finished models start to outnumber the safe surfaces. First they colonise the corner of a desk. Then the windowsill. Then the top of a bookcase, where they sit in a loose huddle like pigeons waiting for a bus. In a rented flat, the usual solutions — wall shelves, picture rails, a proper display cabinet — often feel off-limits. But you do not need a whole room to make a collection look deliberate. You need one metre.
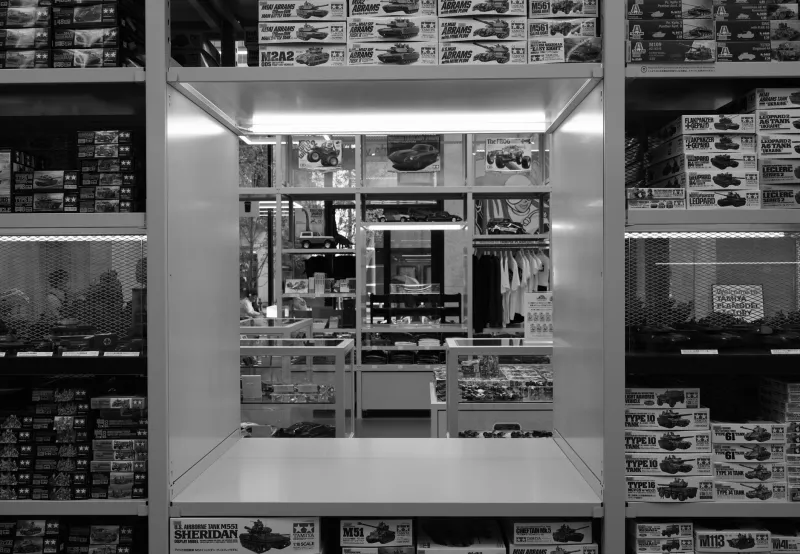
A single metre of freestanding shelving is enough to create what I have started calling a one-metre museum: a small, carefully edited display that gives finished kits and miniatures the respect they have earned. It is renter-friendly, it can be moved when you move, and it forces the sort of curation that a sprawling shelf never does. Think of it as a diorama for your dioramas.
Start with the metre, not the model
Before you rearrange anything, measure out one metre along a wall or in a corner. That is your footprint. The point is not to cram in every finished build; it is to create a boundary that makes you choose. A metre is wide enough for a modest bookcase, deep enough for most 1/35 armour and 28mm terrain pieces, and small enough that you can dust it in five minutes.
For rented flats, a freestanding bookcase is the obvious hero. Charity shops, Facebook Marketplace, and the usual flat-pack suspects all turn up serviceable units for very little. Look for something with a back panel, adjustable shelves, and a depth of at least 28cm. A shallow paperback shelf will leave larger kits hanging over the edge, which is exactly the sort of gravity-based drama you want to avoid.
Do check the safety side. If the bookcase comes with an anti-tip strap, use it where you can, but do not drill into a rented wall without permission. A low, wide unit is inherently more stable than a tall narrow one. Keep the heaviest models on the bottom shelves, use felt pads underneath the bookcase if your floor is uneven, and avoid standing it next to a radiator or in direct sunlight. Resin and sunlight are not friends, and neither are paint and a hot radiator.
Convert a bookcase without making it look like a bookcase
The trick is to stop it reading as storage. Remove one or two shelves to create taller display zones, then use the remaining shelves for a mix of heights. A plain white or oak-effect bookcase can be softened with a length of felt, cork, or even wallpaper lining paper cut to size. None of it needs fixing down; it simply lifts the display away from the flat-pack look.
Acrylic risers are the quiet workhorse here. You can buy them from display shops, craft suppliers, or model shows, usually in packs of two or three. They let you stagger models at different heights without building a permanent tiered stand. If you are feeling thrifty, foam board covered in felt makes a perfectly good riser, and upturned acrylic tumblers can lift a small figure without any fuss. The goal is to create levels, not a staircase of clutter.
Keep the back panel visible. A plain back is a neutral backdrop; a busy one fights the models. If your bookcase has a scratched back, a sheet of foam board or a piece of inexpensive fabric pinned with removable clips can tidy it up without leaving a mark.
The one-metre composition
A display of five to nine pieces will almost always look more intentional than a shelf of twenty. Start with one focal model — usually the largest or most colourful — and place it slightly off-centre. Build outwards with smaller pieces, grouping by scale, theme, or colour. Leave at least a hand's width of empty space between clusters. Negative space is not wasted shelf; it is what makes the eye read the objects as a collection rather than a pile.
Labels help more than you might expect. A small printed card with the kit name, scale, and a line about the build gives the display a museum feel and reminds you what you learned from each project. Keep the cards simple: white card, grey text, no laminated lecture. If you rotate your display every few months, the labels can move with the models.
Try to avoid the temptation to fill every gap. A one-metre shelf with breathing room looks curated. The same shelf packed tight looks like a stash overflow. You can always store the rest in a lidded box and rotate them in later. A collection is allowed to have an interval.
Museum putty and the gravity problem
Museum putty — sometimes sold as quake putty — is the renter's friend. A small blob under each base will hold lightweight miniatures and models in place against knocks, cleaning, and the occasional cat. It is removable, but test it first on an inconspicuous area. Avoid using it on porous resin or fresh paint, and do not rely on it to hold anything heavy at an angle. For larger kits, a strip of removable double-sided foam tape under the base is often more secure, provided you can get it off again without taking paint with it.
Gravity is the other reason to keep the display low. Put the most fragile pieces on the middle shelves, not the top. If you have a wobbly floorboard or a door that slams, a bookcase with a glass door or a simple acrylic display case will do more for your nerves than any amount of putty.
Dust is the quiet enemy
An open shelf will always collect dust, but you can slow it down. Bookcases with doors are ideal. If yours is open, clear acrylic display cases, inverted plastic storage boxes, or even a clean glass cloche can protect the most awkward pieces. A small silica gel sachet tucked behind the display will help with damp, especially in a flat that suffers from condensation.
For cleaning, keep a soft makeup brush and a microfibre cloth nearby. Dust little and often rather than waiting for a full spring clean. Never spray cleaner directly onto the shelf near models; apply it to the cloth, and keep it away from painted surfaces and decals.
Light without an electrician
Cheap lighting transforms a one-metre display. Battery-powered puck lights, USB LED strips, or a small rechargeable picture light can all be fitted without touching the wall. Warm white is usually the most flattering for models — somewhere around 2700K to 3000K — and a high colour-rendering index will stop reds and greens from going muddy. Stick to the underside of a shelf or the top of the bookcase, hide the cable with removable clips, and avoid anything that gets hot. You are lighting a display, not curing resin.
The rental exit check
Before you commit, think about how it comes apart. No drilling, no permanent adhesive, no paint. Keep the original shelves and fixings in a cupboard. Use removable adhesive strips exactly as instructed, photograph the wall before and after, and keep the display freestanding. That way, when the inspection comes round, the one-metre museum can become a one-metre bookcase again in under an hour.
Finished kits are not clutter. They are the evidence of every quiet evening, every masked canopy, every last-minute decal rescue. A single metre of shelf, thoughtfully arranged, is enough to give them a proper home — and to remind you why you cut, sprayed, and built them in the first place.