Thirty Quiet Minutes: The Weekly Airbrush Tune-Up That Saves Your Weekend
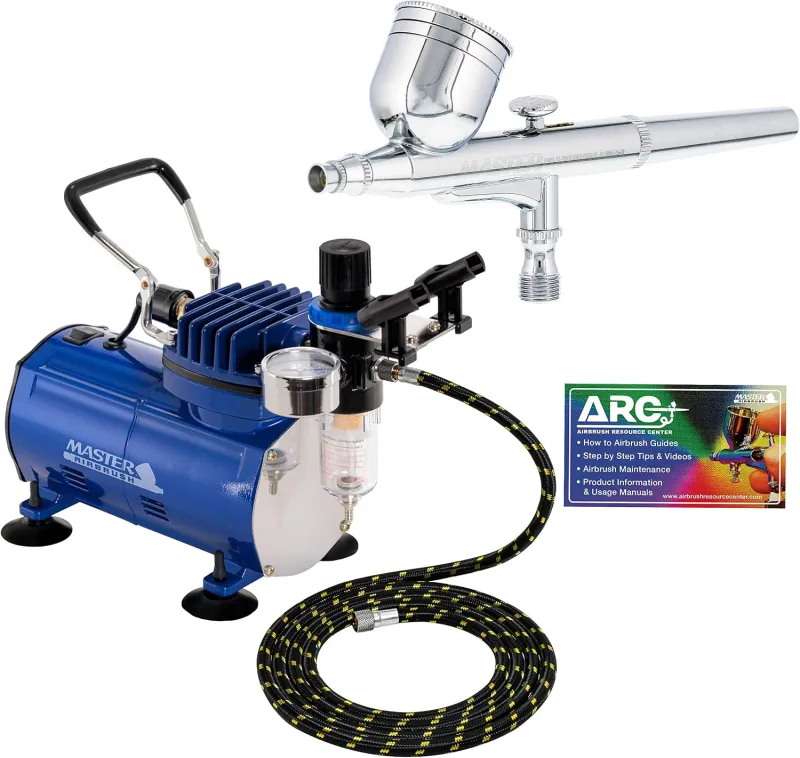
Photo: airbrush needle nozzle cleaning maintenance close up workshop, via m.media-amazon.com
Sunday evening is not the time for a heroic teardown. It is the time for a mug of tea, a clean cloth and thirty quiet minutes at the bench. The weekly airbrush reset is less about deep maintenance and more about removing the small failures that turn into a ruined Saturday. If you spray acrylics, primers and varnishes in a spare room, shed or garage, a little routine goes a long way.
Why a weekly reset beats a monthly rescue
Airbrushes rarely fail in dramatic fashion. They sulk. A nozzle slowly collects pigment, a needle picks up a microscopic bend, a seal dries out. By the time the spray pattern is spitting or the trigger feels gritty, you have already lost an evening. A weekly reset catches those things while they are still cheap to fix. It also gives you a record. After a few weeks you start to notice that the same nozzle clogs after the same primer, or that the needle packing needs a touch of lubricant in cold weather.
The tray you need
Keep it simple: a shallow tub for soaking, airbrush cleaner, distilled water, cotton buds, interdental brushes, a soft microfibre cloth, a magnifier, a small pot of silicone grease and a notebook or index card. Add a decent bench light. You do not need an ultrasonic cleaner every Sunday, and you do not need to remove every part. The aim is inspection, not surgery.
Empty, flush, and stop guessing
Start by emptying the colour cup. Wipe out the worst of the paint with a cloth or kitchen roll. Flush cleaner through the brush according to the manufacturer's instructions, then backflush if your model allows it. Work in a ventilated space and keep the cleaner off your skin where possible. The flush is not just cleaning; it is a test. If the cleaner comes out in a ragged pattern or the trigger feels sticky, make a note. That is the clue you would otherwise miss on a rushed Saturday.
Needle and nozzle: the two-minute check
Remove the needle carefully, from the back if that is how your brush is designed. Roll it on a clean, flat surface and look for a wobble. A bent tip will never spray straight, no matter how much you soak it. Inspect the nozzle under a magnifier. Soak it if it is clogged, but do not poke at it with a hard wire or a sewing needle. A softened blob of dried paint can usually be flushed or teased out with a fine interdental brush. If the nozzle is damaged or the threads feel rough, replace it rather than tightening it harder.
Seals, threads and the bits you forget
Check the needle packing and any visible O-rings. They should not look cracked, shiny or flattened. A tiny smear of silicone grease on the right parts can restore a smooth action, but more is not better. Keep grease away from the paint path. Wipe the threads clean and reassemble without over-tightening. Check the air valve and the trigger return. If the trigger is sluggish, sort it now rather than during a delicate camouflage session.
The two-minute log
This is the part most people skip. Write the date, the paints used, the nozzle size, any issue and what you did about it. A line or two is enough. After a month you will have a useful pattern: which cleaner works, which primer is causing trouble, when the seal started to feel tired. A photo of the assembled brush and the nozzle before you put it away can also save head-scratching later.
Reassemble, test, and leave it alone
Let the parts dry fully. Fit the needle slowly and gently. A quick test with distilled water or cleaner confirms the spray is even and the trigger is smooth. Then stop. The point of the reset is to leave the brush clean, assembled and ready, not to start a new project at ten o'clock at night.
A note on UK conditions
Cold garages and hard water are not friends of an airbrush. If you work in a shed or garage, bring the brush indoors to dry and store it. Condensation and chilled seals make everything feel worse. If your tap water is hard, use distilled water for final flushes and thinning where appropriate. And if you have been spraying solvent-based paints, check your ventilation and follow the manufacturer's advice; a weekly reset is not a substitute for a proper mask and extraction.
When to escalate
If the brush bubbles, spits constantly or the spray pattern stays uneven after a reset, stop fiddling and do a deeper service. Check the nozzle seat, the packing and the air passages. Some problems need a new part. That is not a failure. It is maintenance.
Thirty minutes on a Sunday is a small price for a weekend of steady spraying. Put the kettle on, keep the tray nearby and let the ritual do the worrying for you.