Rainlight, Tea Towels and a Phone: A Repeatable Photo Rig for Finished Models
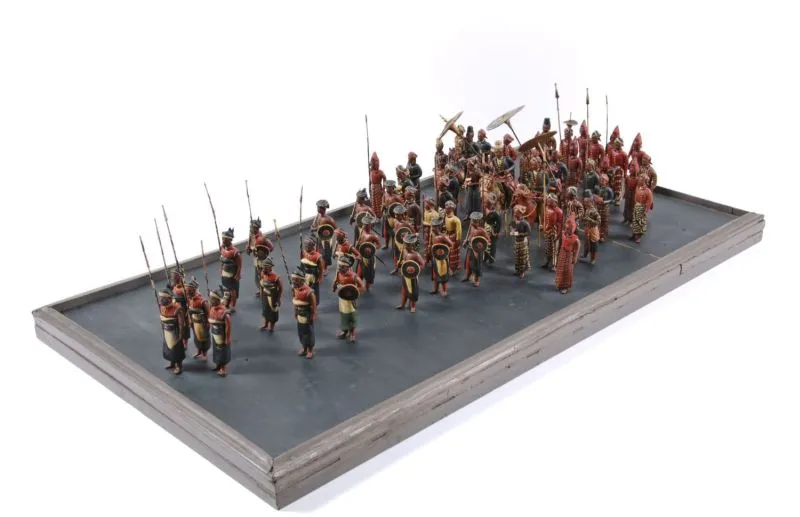
Photo: Tropenmuseum, CC BY-SA 3.0, via Wikimedia Commons
Start with the board, not the camera
A finished kit deserves better than a hurried snap on the kitchen table, but it does not need a dedicated studio. An ironing board is quietly brilliant for this: it is height-adjustable, it folds away, and it gives you a narrow working surface that forces you to clear the clutter. Set it up near a window, but not in direct sun. On a grey UK Sunday, the light will be soft and forgiving, which is exactly what you want for gloss canopies and small painted details.
You need less kit than you think. Two clean tea towels, a couple of A2 sheets of card or lining paper, your phone, and a window. That is the core rig. The first tea towel goes down as a base layer, the second can bounce a little light back into the shadow side or act as a soft backdrop if you fold it neatly. Avoid the novelty tea towel with the seaside print. Neutral grey, white or black is your friend.
The grey Sunday advantage
Overcast daylight gets a bad reputation, but for model photography it is close to a free softbox. The sun is diffused, shadows are gentle, and you can actually see the shape of a kit rather than a hard-edged shadow of it. The catch is that grey light can look a bit blue and flat on a phone. That is easy to fix later, and it is much easier to fix than a blown-out highlight on a gloss wing.
Work in the middle of the day if you can, even if the sky looks uninspired. In November 2026, that might be a three-hour window between school runs and the light fading. Put the ironing board parallel to the window, not pointing straight at it. That gives you light across the model, which reveals surface detail and keeps the background from going stark white.
Backdrops that cost less than a coffee
A clean backdrop is mostly about removing distractions. Tape a sheet of A2 card to the wall or a cupboard door and let it curve down onto the board so there is no hard horizon line. Lining paper works well if you are careful with creases. A plain grey t-shirt stretched over a board is another option, as long as it is not bobbly. The tea towel base is fine for quick shots, but it will show its weave if you get close.
If you want a darker mood, use black card and a black tea towel. It makes bright paint schemes and metallics pop, but it also shows every speck of dust. Run a lint roller over the cloth before you start. Keep the background simple and let the model do the talking.
Gloss, canopies and the reflection problem
Reflections are not random. They are usually the shape of your window or your phone screen. If a canopy is showing a bright rectangle, move the model a few degrees, move your phone, or put a piece of black card just out of frame on the side the reflection is coming from. That black card is a flag, and it gives the gloss something dark to reflect instead of a window.
Avoid on-camera flash unless you want a tiny sun in every curved surface. If the model is too dark on the shadow side, prop a white tea towel or a sheet of paper opposite the window. For canopies, a small strip of white card can create a tidy highlight along the edge. You are not trying to remove reflections entirely; you are trying to make them look deliberate.
Angle cards and a repeatable set
A handful of index cards keeps you honest. Write one shot per card: front, three-quarter left, side, rear three-quarter, top, detail. Lay them beside the board and work through them in the same order every time. This sounds fussy, but it turns photography into a routine rather than a guessing game. When you have three finished models to share, you will be glad of a repeatable set.
Keep the phone at roughly the same height for the main shots, then drop low for a dramatic view or go high for a layout shot. Use the grid on your phone screen to keep verticals straight. Tap the screen to focus on the canopy or the face of a miniature, then hold your finger down to lock exposure if the phone keeps brightening the background. A three-second timer reduces the chance of camera shake.
The phone-camera routine
Clean the lens first. It sounds obvious, but a smeared phone lens will make a good model look soft. Turn off flash, keep the main lens rather than digital zoom, and use 2x only if your phone has a proper telephoto. Get close enough that the model fills the frame, but not so close that the phone cannot focus.
Shoot a safe front view first, then work around the angle cards. Take two frames of each: one as the phone meters it, one with exposure locked a touch darker. Review at 100% before you pack away. Look for dust, stray fibres, and reflections you missed. It is much easier to reshoot now than to notice next week when the kit is back on the shelf.
Editing on the phone, lightly
Crop and straighten first. Then adjust exposure, contrast and white balance. A grey Sunday often needs a small nudge towards warmth, but do not overdo it or the model will look like it was shot under a chip-shop heat lamp. Bring the black point down slightly to give the image some depth, and leave the sharpening alone unless you really need it. The aim is a clean record of the build, not a competition entry.
Packing away the studio
Fold the ironing board, wash the tea towels, and keep the angle cards in a sandwich bag with the backdrop card. The whole rig should fit behind a door. On the next grey Sunday, you can set it up in ten minutes and get consistent photos of whatever has just come off the bench. No light tent, no spare room, no fuss.